
Locations are like online profiles for each property or business unit.
To set up an account, the first step is to create a location. Each location must have at least one user assigned to it. This user will be the designated contact person for that location. You will also need to assign a specific location number. Location numbers are used to identify each location with a unique number.
-
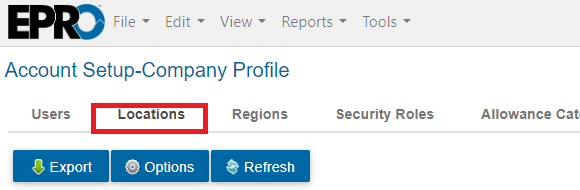
Go to View > Account Setup > Company Profile > Select the Locations tab.
-
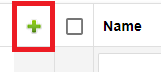
Click the green plus sign.
-
Enter data for all required fields, which are marked by an asterisk.
-
Required fields include - Number, Name, Region, Tax Rate, Phone and address information for Mailing, Ship To, and Box addresses.
-
-
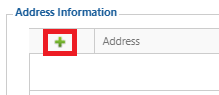
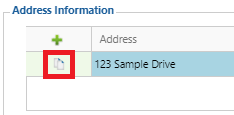
To enter an address click the green plus sign in the Address Information section.
-
All fields are required except for Comments
-
To save time, use the Copy button if the Mailing, Ship To, and Box addresses are the same.
-
-
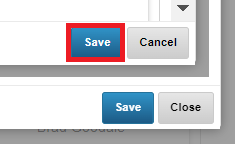
Click Save.
Note
When adding a new location, it is recommended to select at least one user as a manager. Therefore, it is recommended that new users be added prior to a new location being added.
-
Go to View > Account Setup > Company Profile > Select the Locations tab.
-
-
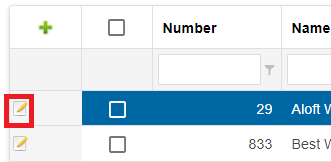
Search for and select a location from the list > click the Edit button to access the Manage Location window.
-
If continuing from the section above, you are already in the Manage Location window.
-
-
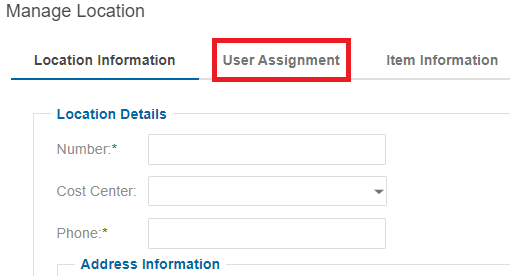
Select the User Assignment tab.
-
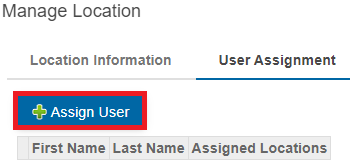
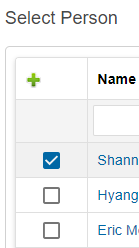
Click the Assign User button.
-
Use the checkboxes to select users to be added to this location > click Save.
-
Verify the users assigned are correct.
-
If incorrect, click the red X next to each user that needs to be removed.
-
-
Click Save > click the black X to close the window.