

After successfully adding a user to the system, the next step is to assign them to a specific location to activate their menu options.
-
Go to View > Account Setup > Company Profile > Users.
-
Using the column headers, search for the user you wish to edit.
-
Click the Edit button next to their name.
-
The User Information tab will be selected by default.

-
-
Edit any user details in the Manage User window.
-
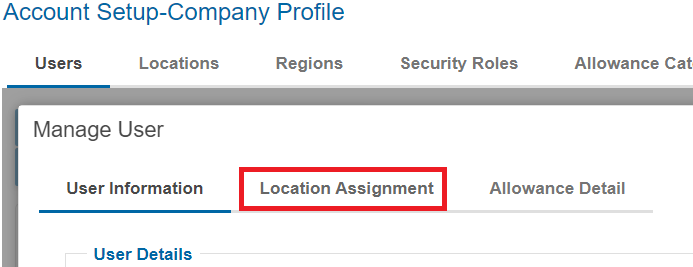
Click the Location Assignment tab.
-
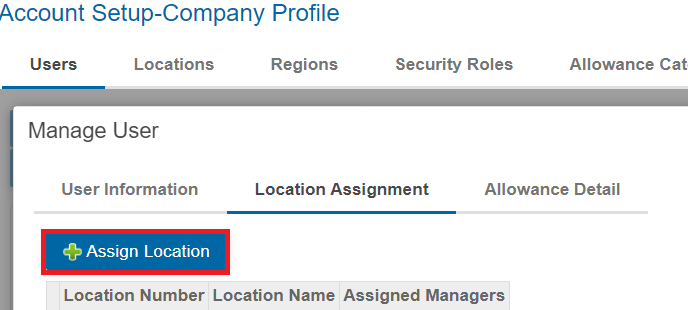
Click the Assign Location button.
-
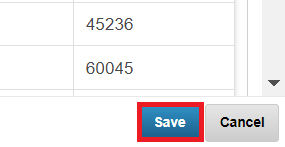
Select any locations this user should be assigned to by checking the boxes then click Save.
-
Use the red X to remove the user from any locations they should not be assigned to.
-
When you are satisfied with your edits click Save then click then Close.